In this article we’re going to look at how to easily resize images in Windows 10 before uploading to your WordPress Website.
Great images are essential for any website, but you need to be careful as images with large file sizes can really slow down your website – not a good thing!
I highly recommend installing the free Imagify plugin to automatically optimise all of the images on your website. This will automatically compress images to the optimal size and format for the users device and browser.
Even if you are using Imagify, however, you need to be aware that there is a monthly limit of how many MBs you can compress with the free version. For this reason, it’s a good idea to manually reduce the images you upload to a reasonable size before uploading them, so you don’t quickly burn through your monthly limit.
There’s also a maximum file size limit of 256kb built into WordPress, so if your image file is larger than this you won’t be able to upload it in the first place.
What are the Optimum Image Sizes for WordPress
The optimum image sizes for WordPress are:
- Featured images and images in posts and products – 1200 pixels
- Hero Images / Full Screen Images – 2880 pixels
This figure is for the maximum dimension (I.e width if landscape, height if portrait).
Easily Resize Photos in Windows 10
Time needed: 2 minutes
Resize images with Windows Photos
- Open Image with Windows Photos
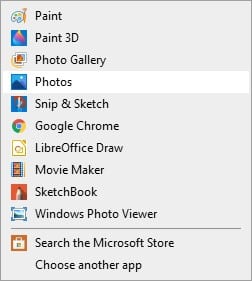
Depending upon how your settings are configured, it’s possible that Windows Photos is your default photo viewer, so all you’ll have to do is double click the image. If double clicking the image file does something else, you can right click, and select “Open With”, then choose “Photos”.
- Navigate to the resize option
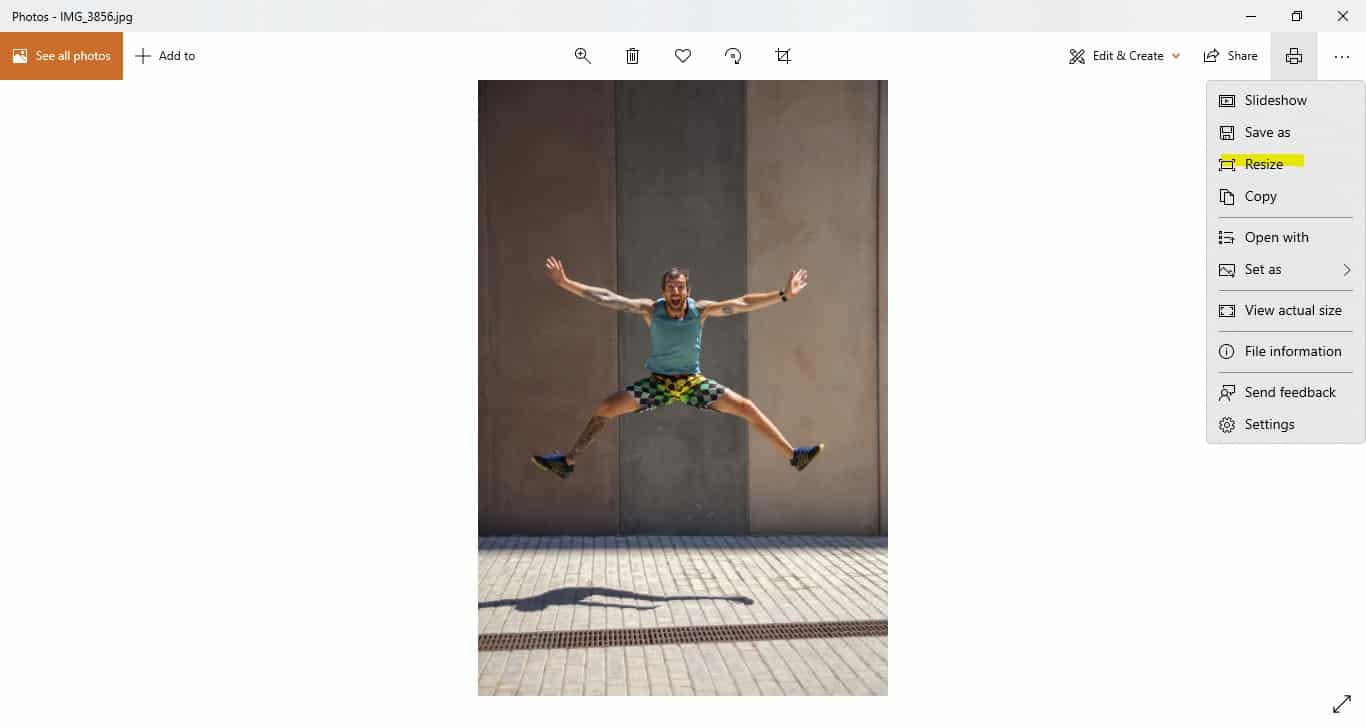
The option to resize your image can be found by clicking on the three dots in the top right corner.
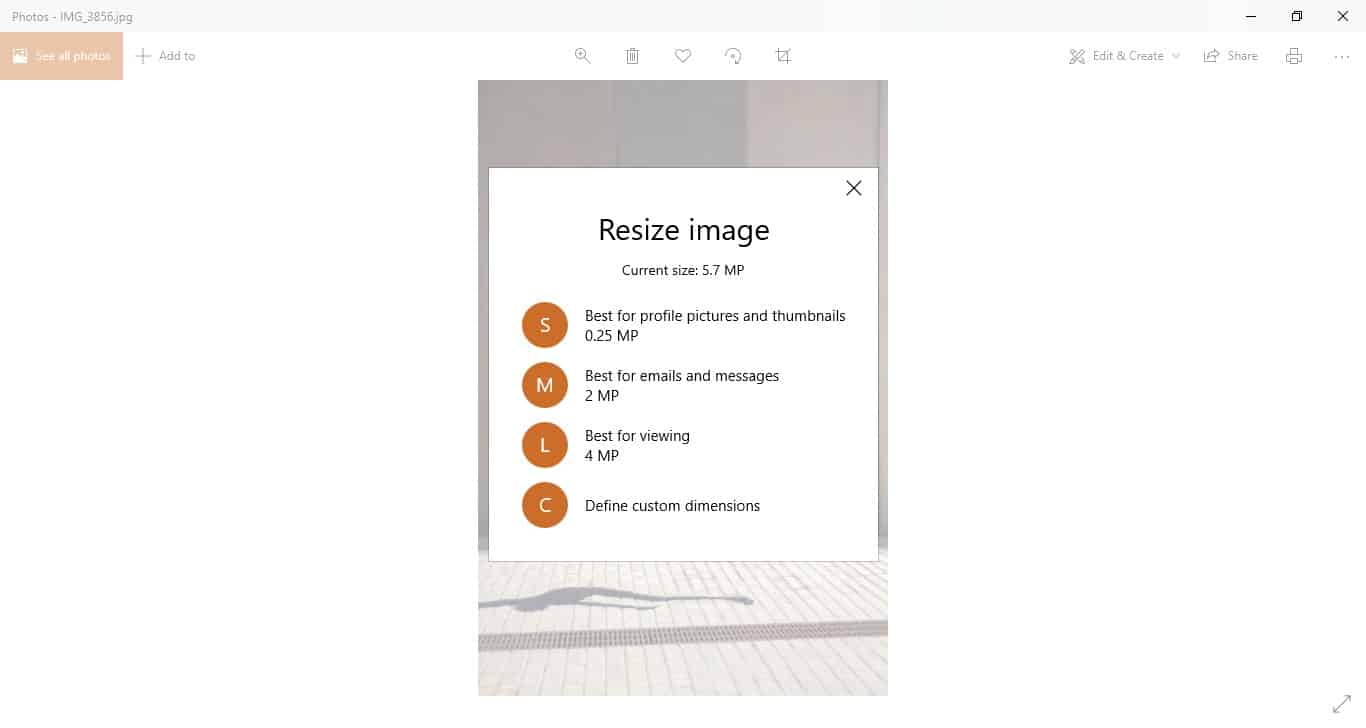
- Select “Custom” image size
In order to resize an image to have maximum dimensions of 1200 pixels, you’ll need to select option C for “Custom”. Alternatively, you could pick M for “Medium”. This will automatically resize to maximum dimensions of 1732 pixels, a little larger but still fine for most purposes if you want to save a few clicks!
- Keep the aspect ratio
Before changing the maxium dimension, ensure that the “Maintain aspect ratio” box is ticked so you don’t distort the image. You now need to change the highest of the two numbers to 1200 and the other will automatically be adjusted. For a vertical image you need to set the height to 1200, landscape the width.
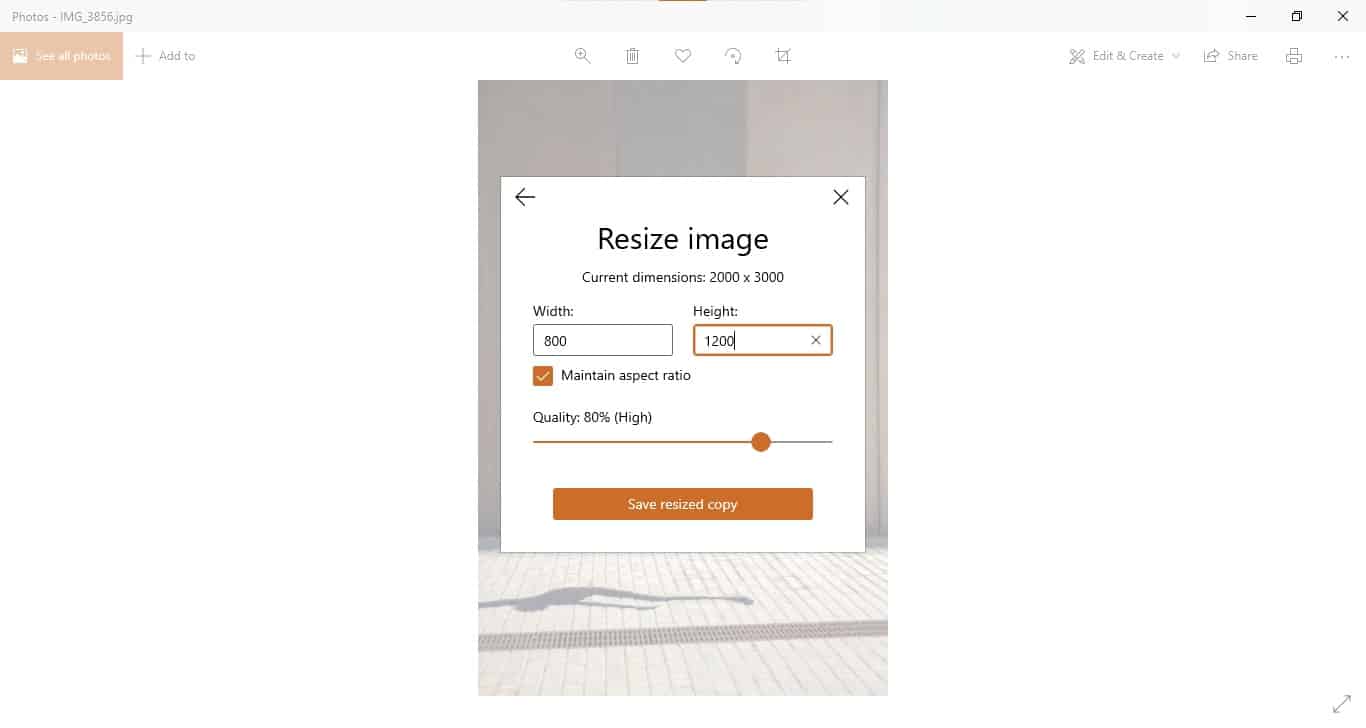
- Save a copy of the new image
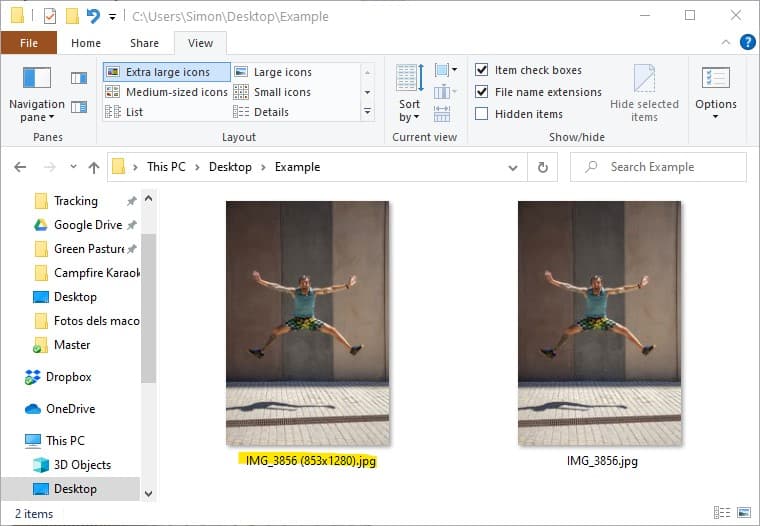
You’ll be prompted to save a copy of the new image. I’d recommend changing the name, or you will overwrite the original higher quality copy. You can either change the name completely or simply add something after the name such as the new dimensions so you can easily tell which is which.
If you don’t have the Windows Photo application installed, you may also resize images using Windows Photo Gallery, though I find that image quality is not as high, and the file size is larger!
The article How to easily resize images in Windows 10 first appeared on woosimon.com


Comments are closed.